
How to Try On Clothes from a Photo with AI Outfit Changer
Upload your own photo and a garment reference to preview different outfits. Learn the preparation steps, generation modes and limits.
To preview a particular garment on your own photo, use a tool that accepts both a person image and a clothing reference. AI Outfit Changer provides this workflow in a browser: sign in, upload the two pictures, select a generation mode and request a try-on image.
This is useful when you already have a garment in mind. A reference image gives you something concrete to compare with the generated result, including its colour, shape and visible pattern.
Choose the workflow that matches your goal
Clothing-editing tools can work in different ways. Some generate a style from a text description. Some let you brush over an area to edit. Others use a garment photo as a reference.
| Your goal | Capability to look for |
|---|---|
| Explore an imagined outfit | Text-based clothing creation or presets |
| Preview a particular garment | Person-photo and garment-reference uploads |
| Control a small editing area | A masking or brush workflow |
| Determine a purchase size | Actual garment measurements and the seller’s size chart |
AI Outfit Changer fits the garment-reference workflow. Both launched modes require one person photo and one clothing image. Optional notes in Essential can describe the intended styling, but they do not replace the clothing reference.
Step 1: Prepare your person photo
Choose a clear image of one person with the relevant clothing area visible. For a jacket, include the torso and arms. For trousers, keep the legs visible. Avoid a crop that removes the area you want to change.
An evenly lit photograph makes it easier to inspect the result. Keep your original file so you can compare the face, body, background and unchanged clothing afterwards. Use photographs you have permission to upload.
Step 2: Prepare the garment reference
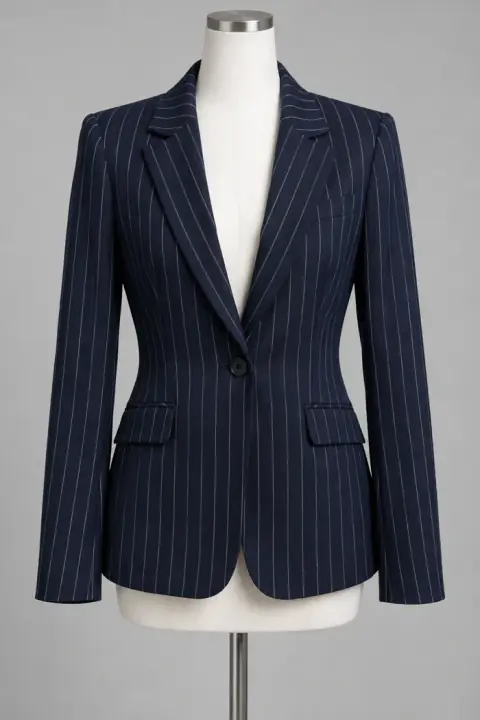
You can use a flat-lay image, a product photograph or an image of clothing on a model. Select a reference where the intended garment is easy to identify. A single clear item gives you a simpler first comparison than a busy collage.
If you use a product screenshot, keep the garment itself large and visible. Check permission to reuse the image, and avoid references where important details are hidden by captions, interface elements or another object.
Both uploads must be JPEG, PNG or WebP and no larger than two MiB each. Converting a file to a supported format may be necessary before you can use it.
Step 3: Select a generation mode
Free Preview offers up to three watermarked previews per day and a longest edge of up to 512 pixels. Essential Try-On costs ten credits per result, requests 1K generation and produces an image without the visible preview watermark. Actual Essential dimensions may vary.
Use the preview to check a broad outfit idea. If you select Essential, review your balance before generating. Eligible accounts can claim daily credits according to the status displayed in the tool.
Step 4: Generate and compare
Once your inputs and mode are ready, start generation. The AI performs the clothing transformation; this workflow does not ask you to draw a clothing mask manually.
There are still preparation steps. Account sign-in, image uploads and mode selection happen before the generation action. Processing time varies, and clicking the button does not guarantee an instant result.
Compare the output with both references. Look at the neckline, sleeve boundaries, colours, patterns and anything you expected to remain unchanged.
Step 5: Try another outfit on the same photo
Reuse your person image and change the garment reference. Keeping the person photo consistent makes comparisons easier to interpret. Each new outfit requires a new generation and uses the selected mode’s allowance or credits.
These previews can help you compare visual styles. They cannot confirm actual sizing, material feel or the exact appearance of a purchased garment. Fine details and non-target items can change during generation.
Open the AI Outfit Changer clothes-swap tool to try the workflow. For current free allowances and credit eligibility, see the free guide.